Clean your AEG dishwasher regularly so it continues to perform optimally.
Run a long-duration programme
Run a long-duration programme twice a month when the dishwasher is empty. This is especially important if you often use shorter programmes, as this can lead to the build-up of grease and limescale in the dishwasher. Clean and Care is recommended for optimal performance.
If your dishwasher has the Machine Care programme, use this one instead.
Run the Machine Care programme (if available)
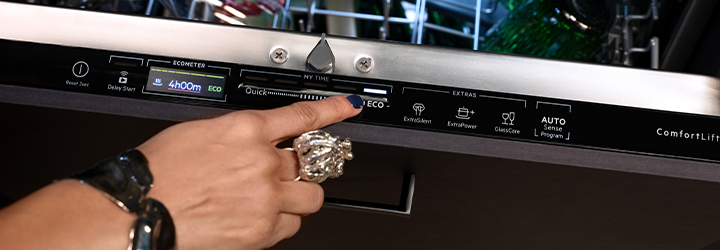
If your dishwasher has the Machine Care cleaning programme, run it when the indicator is on, on an empty dishwasher. Before starting the programme, clean the filters and spray arms. Check the user manual to learn how to start Machine Care on your dishwasher model. Clean and Care is recommended for optimal performance.
Clean the rubber gasket
Clean the rubber gasket of the door with a soft damp cloth. Do not use abrasive products, abrasive cleaning pads, sharp tools, strong chemicals, scourers or solvents.
Clean the filters
Check the filters and sump after each dishwasher use and clean when necessary. Items such as pieces of glass, plastic or food stuck in the filters decrease the cleaning performance and can cause damage.
Important: Turn off the dishwasher and disconnect the main plug before cleaning the filters.
There are three filters, referred to as (A), (B) and (C) below. 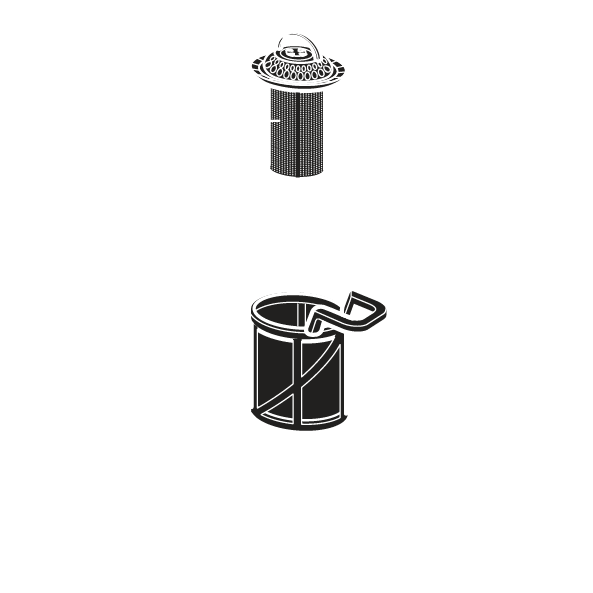
1. Turn the filter (B) anticlockwise and lift it out.
2. Separate the filter (C) from filter (B).
3. Remove the flat filter (A).
4. Wash the filters under running water. Ensure that there is no food residue or debris in or around the edge of the sump.
5. Put the flat filter (A) back in place and make sure that it’s correctly positioned using the lock mechanism on the rear side.
6. Reassemble the round filters (B) and (C).
7. Put back the round filters (B) and (C) on top of the flat filter (A). Turn clockwise until it locks.
Clean the spray arms
Clean the spray arms regularly to prevent clogging the holes.
Important: Turn off the dishwasher and disconnect the main plug before cleaning the spray arms.
Cleaning the lower spray arm
1. Remove the lower spray arm by pulling it upwards.
2. Wash the spray arm under running water. Use a toothpick or similar to remove dirt particles from the holes.
3. To reattach the spray arm, press it downwards.
Cleaning the upper spray arm
How to clean the upper spray arm depends on your model. On some models, the upper spray arm should be cleaned without removing it, using a toothpick or similar to clean any dirt clogging the openings.
On other models, it’s recommended to remove the upper spray arm to wash it under running water. Residue can be removed using a toothpick or similar. On these models, the upper spray arm is detached from the basket by pressing it upwards and simultaneously turning it clockwise. After cleaning, reattach it by pressing it upwards and turning anticlockwise until it locks into place.
Check the user manual to see what applies to your dishwasher.
Cleaning the top spray arm
The top spray arm is located above the upper basket. This spray arm (C) is installed in the delivery tube (A) with the mounting element (B).
Important: If you have a cutlery drawer at the top of your dishwasher, you will need to remove it before cleaning the top spray arm. This is done by releasing the stoppers on the sides of the sliding rails of the cutlery drawer and pulling the drawer out. Check the user manual for details. 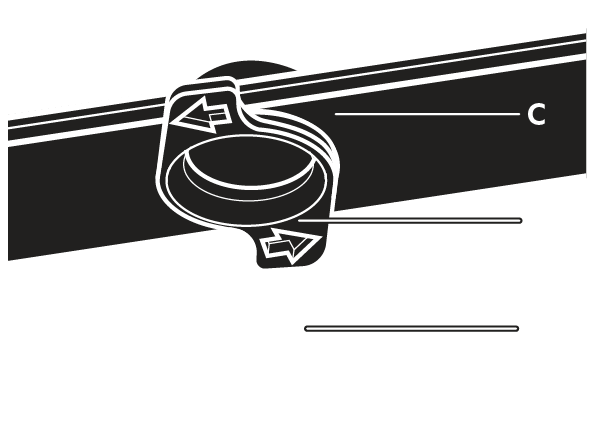
1. To detach the spray arm (C) from the delivery tube (A), turn the mounting element (B) anticlockwise and pull the spray arm downwards.
2. Wash the spray arm under running water. Use a toothpick or similar to remove dirt particles from the holes. Run the water through the holes to wash dirt particles away from the inside.
3. To reattach the spray arm (C), insert the mounting element (B) in the spray arm and fix it in the delivery tube (A) by turning it clockwise. Make sure that the mounting element locks into place.
4. If applicable to your model: Install the cutlery drawer on the sliding rails and reattach the stoppers.
For more information about your specific dishwasher model, check the user manual. You can find your user manual here.
